

Most of the EDA tools used in the VLSI Industry are designed for use in UNIX operating system. These tools must require licenses to work which can be purchased from EDA Companies or a company that is authorized for sales and supports. Synopsys tools can be purchased either from www.synopsys.com or from authorized sales and support partner www.eigen.in (in India).
Once you buy the tools, they provide login credentials on their website. Using the login credential the licenses and tools can be downloaded to your local machine/server. We can also update the licenses whenever it gets expired and we can also download the latest release of any tools from the website using the login credential. For Synopsys tools, we need to login into their official website https://solvnet.synopsys.com to download the tools and licenses.
Step-1: Download the Synopsys installer, SCL and tools setup files
Go to https://solvnet.synopsys.com and login with your login credentials.
 |
| Solvenet Login |
After login, you need to download:
- Synopsys Installer (An application which provides a nice gui interface to install the tools)
- SCL (Synopsys Common Licensing)
- All the EDA tools which you have license and want to install.
- Synopsys license (Incase it is not set already)
Step-2: Launch the Synopsys installer GUI
Step-2.1: Open the terminal with root privilege and go to the directory where Synopsys installer is downloaded.
Step-2.2: Provide the execute permission to the synopsysInstaller.
chmod 755 synopsysInstaller_V3.2.run
Step-2.3: Run the following commands to unpack the installer ( -d switch is for creating a directory)
./synopsysInstaller_V3.2.run -d installer
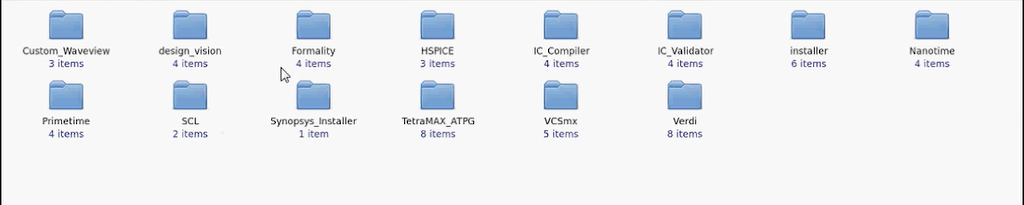
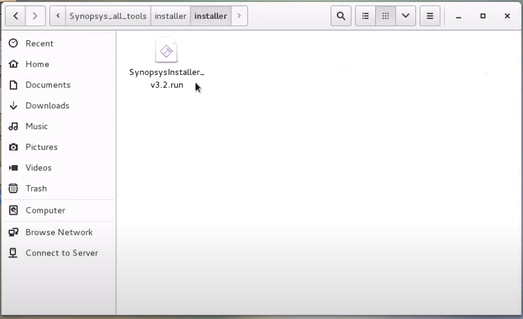
Step-2.4: Go to installer directory created in above step and if you see the contents, it will look like.
cd installer
ls installer

Step-2.5: Now we have to launch the installer in GUI mode by the following commands.
./installer -gui
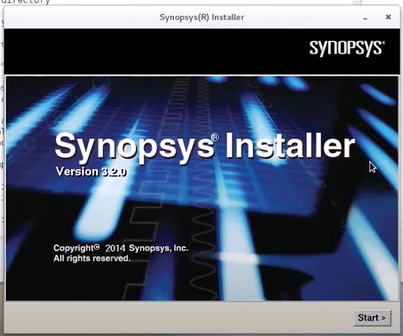
Step-3: Provide the source location (installation setup directory) and destination location (the directory where you want to install the tool)
Step-3.1: After the above step a GUI will be opened up. Now when we click to start, it will ask to site ID which is provided by Synopsys when you purchase the tool.

Step-3.2: Next we need to provide the source location where the tools are kept which we want to install.

Step-3.3: Next we need to provide the destination location where we want to install the tool.

Step-3.4: Next we need to accept and proceed, after that installation will be started.
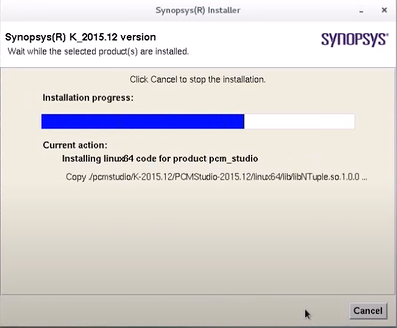
In the same way, we can install all the tools. Once we did with installation we need to configure the license and set a path of all the tools in form of a bashrc/cshrc file. That will be explained in separate article.
Thanks